


How to Install Acoustic Wall Panels Yourself: Step-by-Step Guide
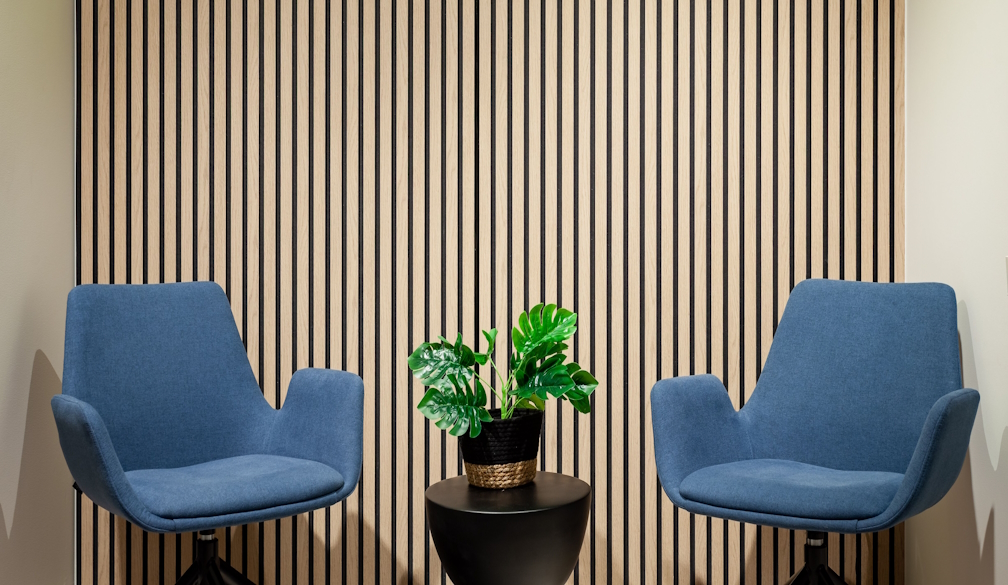
Modern homes are designed to be beautiful, functional, and comfortable, but many homeowners overlook one important element that affects everyday living sound quality. Hard surfaces like glass, concrete, timber flooring, and painted walls can cause echoes that make conversations, music, and home entertainment less enjoyable. Fortunately, installing acoustic panels is one of the simplest DIY projects that can dramatically improve the acoustics of any room without requiring major renovations.
Whether you're upgrading a home office, creating a home theatre, or making your living room quieter, installing acoustic wall panels yourself can save money while delivering professional-looking results. With the right tools and careful planning, most homeowners can complete the installation in just a few hours.
Acoustic panels are sound-absorbing panels designed to reduce echo, reverberation, and excessive noise within a room. Unlike traditional soundproofing materials that block sound transmission between rooms, acoustic panels improve the sound quality inside the space by absorbing reflected sound waves.
Installing acoustic panels yourself offers several advantages:
- Lower installation costs
- Flexible placement based on your room layout
- Quick installation with basic tools
- Immediate improvement in room acoustics
- Ability to customize the design to match your interior
DIY installation is ideal for homeowners who want better sound quality without hiring professional installers.
What Tools and Materials Do You Need Before Installing Acoustic Panels?
Preparing the right tools before starting makes the installation process faster and more accurate.
You will typically need:
- Acoustic panels
- Measuring tape
- Pencil
- Spirit level
- Stud finder (optional)
- Construction adhesive or mounting tape
- Wall anchors and screws (if required)
- Drill and screwdriver
- Cleaning cloth
Some lightweight acoustic panels can be installed using heavy-duty adhesive, while larger timber or decorative panels may require screws for additional support.
How Should You Plan the Layout Before Installing Acoustic Panels?
Proper placement is one of the most important steps in achieving the best acoustic performance.
Before attaching any panels:
- Measure the wall dimensions.
- Decide which areas produce the most echo.
- Mark the desired panel positions using a pencil.
- Ensure spacing between panels is even.
- Check that the layout complements the room's design.
For home theatres, panels are commonly placed beside and behind the seating area. In home offices, positioning panels behind the desk or opposite reflective surfaces often provides the greatest improvement.
Planning ahead helps avoid unnecessary adjustments later.
Step 1: Clean and Prepare the Wall Surface
A clean wall ensures that adhesives bond properly and panels remain securely attached.
Before installation:
- Remove dust and dirt.
- Wipe the wall with a damp cloth.
- Allow the surface to dry completely.
- Repair any damaged plaster or peeling paint.
Smooth, dry walls provide the strongest adhesion for most acoustic panel systems.
Step 2: Measure and Mark the Panel Positions Carefully
Accurate measurements create a professional finish.
Use a measuring tape and spirit level to mark:
- Panel height
- Horizontal alignment
- Equal spacing between panels
- Centre points if creating decorative patterns
Double-check all measurements before attaching the first panel. Even a small alignment error can become noticeable once multiple panels are installed.
Step 3: Choose the Right Installation Method for Your Acoustic Panels
Different acoustic panels require different mounting methods depending on their size, weight, and construction.
Common installation methods include:
Adhesive Installation
Construction adhesive works well for lightweight fabric or polyester acoustic panels.
Benefits include:
- Quick installation
- No visible screws
- Minimal wall damage
- Clean appearance
Screw Installation
Wood slat panels or heavier acoustic systems often require screws and wall anchors.
This method provides:
- Greater long-term stability
- Better support for heavier materials
- Easy replacement if panels need repositioning
Always follow the manufacturer's installation instructions for the specific panel type.
Step 4: Attach the Acoustic Panels to the Wall
Begin with one corner of the wall and work systematically.
For adhesive installation:
- Apply adhesive evenly to the back of the panel.
- Position the panel carefully.
- Press firmly against the wall.
- Hold for the recommended time.
- Repeat for remaining panels.
For screw installation:
- Drill pilot holes.
- Insert wall anchors if needed.
- Position the panel.
- Secure using screws.
- Check alignment before tightening completely.
Working slowly helps maintain straight lines and consistent spacing.
Step 5: Check Alignment and Make Final Adjustments
Once all panels are installed, inspect the finished layout.
Look for:
- Straight horizontal lines
- Equal spacing
- Secure attachment
- Clean edges
- Uniform appearance
Small adjustments are much easier to make immediately after installation than after the adhesive has fully cured.
How Can You Get the Best Acoustic Performance From Your Installation?
Installing acoustic panels correctly is only part of improving room acoustics. Strategic placement also matters.
For the best results:
- Install panels on reflective walls.
- Combine wall and ceiling panels for larger rooms.
- Focus on areas where sound naturally bounces.
- Avoid placing every panel on one wall.
- Balance acoustic treatment with room aesthetics.
Rooms with large windows, tiled floors, and high ceilings often benefit from additional acoustic coverage.
What Mistakes Should You Avoid When Installing Acoustic Panels?
Many DIY installers achieve excellent results by avoiding a few common mistakes.
These include:
- Installing panels without planning the layout
- Ignoring the manufacturer's mounting instructions
- Using insufficient adhesive
- Mounting panels on dirty surfaces
- Uneven spacing between panels
Installing too few panels for the room size
Careful preparation produces better acoustic performance and a cleaner visual finish.
Why DIY Acoustic Panel Installation Is a Smart Home Improvement
Installing acoustic panels yourself is an affordable and rewarding project that enhances both comfort and interior design. By reducing echoes, improving speech clarity, and creating a more enjoyable listening environment, acoustic panels make living rooms, home offices, media rooms, and bedrooms feel more functional and relaxing.
As more homeowners seek practical upgrades that improve everyday living, DIY acoustic panel installation continues to grow in popularity. With proper planning, the right tools, and careful installation, you can achieve professional-looking results while enjoying the long-term benefits of better sound quality throughout your home.